Finishing Handmade Holiday Gifts
December 9, 2020
If you’ve spent the last few months crafting holiday projects, it’s time to put the finishing touches on those gorgeous gifts! We have lots of great tips to make your handmade gifts shine this holiday season; read on to learn more!
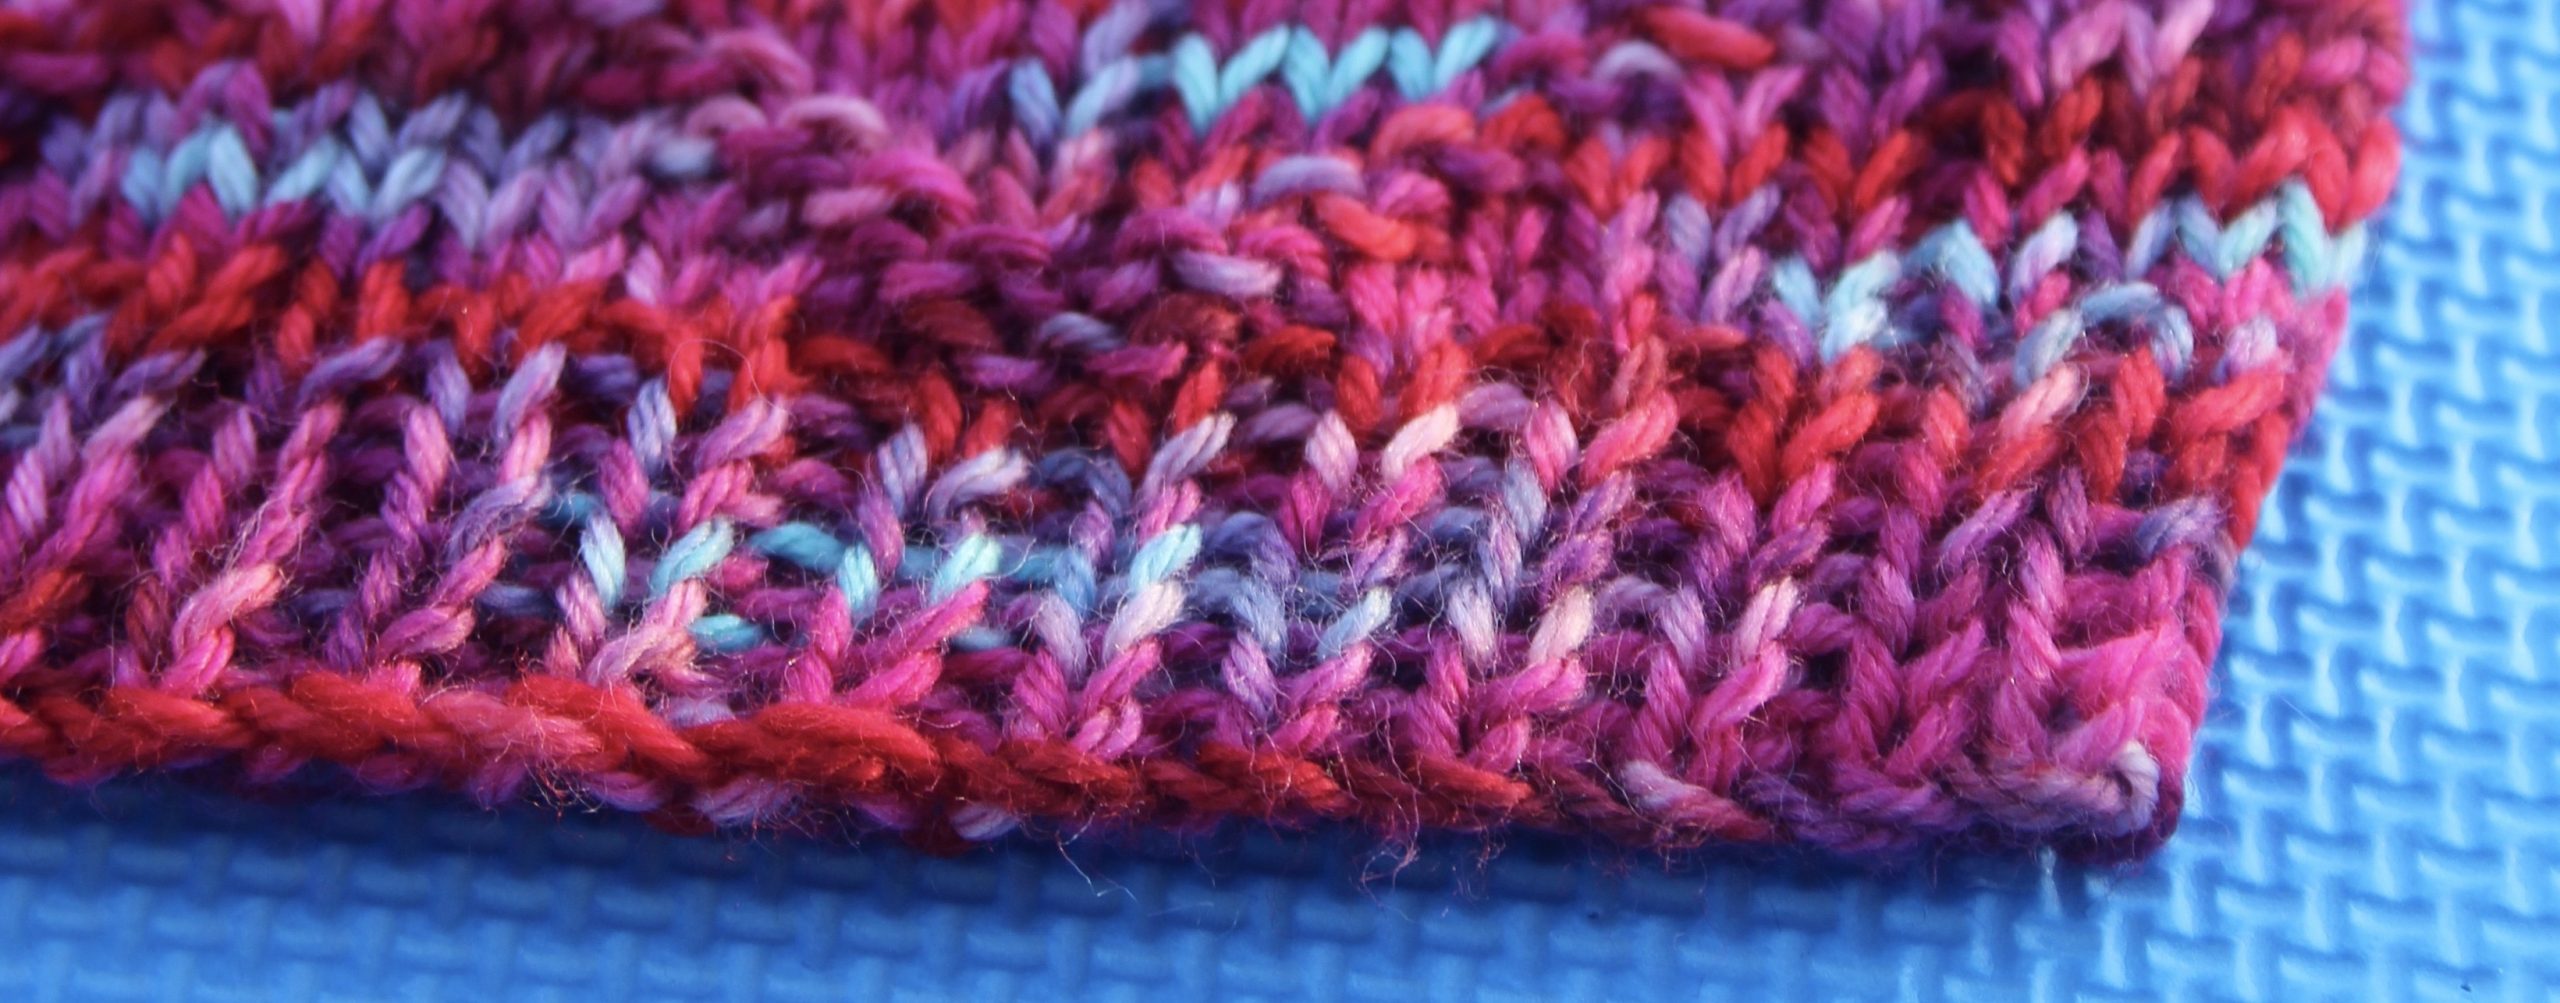
Blocking
No hand-knit or crocheted gift is finished without a blocking. Blocking is the process of washing and drying your finished object to smooth it out and work it into shape. If you’re using acrylic yarn, this won’t be as effective, but any natural fibers (wool, silk, cotton and so on) will benefit from a good blocking. There are several ways to block your project, and we’ll even include some time-saving methods for those last minute gifts!
Wet Blocking
Wet blocking is the process of soaking your project and then laying it out, pressing it into shape and letting it dry. To wet block, follow the steps below:
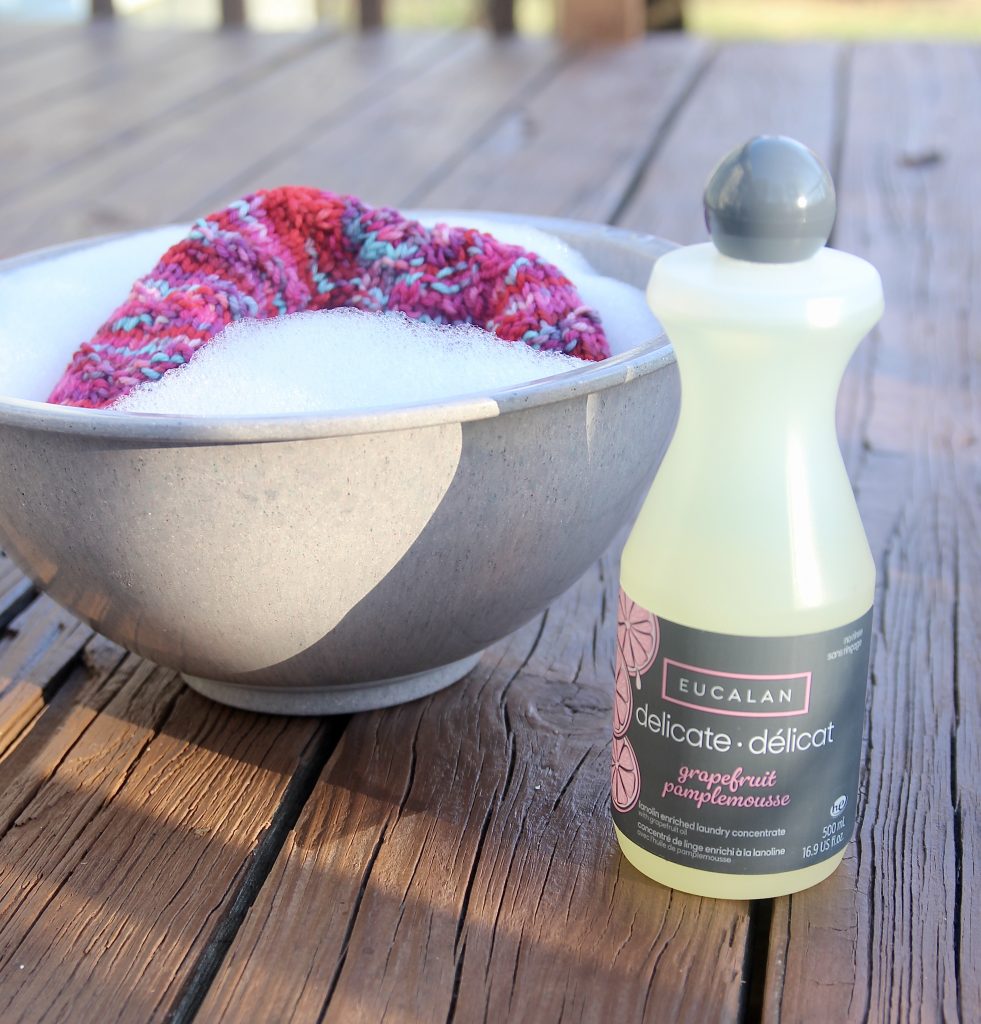
- If you want to do a full wet block, start by filling a sink or basin with cool water and adding your favorite woolwash (we like Eucalan, but any woolwash will do).
- Gently press your project into the water and ensure that it is submerged. Don’t agitate your project too much – you don’t want to accidentally felt that gift you’ve spent all that time creating!
- Let your project soak for 10-15 minutes. If you see any dye release in the water, go ahead and pull your project out sooner. If the water is just pale in color, it’s probably some exhaust from the dye (leftover particles that weren’t absorbed into the yarn in the dye process) and nothing to worry about.
- Once you’ve pulled your project out of the water, squeeze it gently to release excess water. Don’t wring it out as that may distort the shape. Wrap the project in a clean, dry towel and then press gently to release as much water as possible.
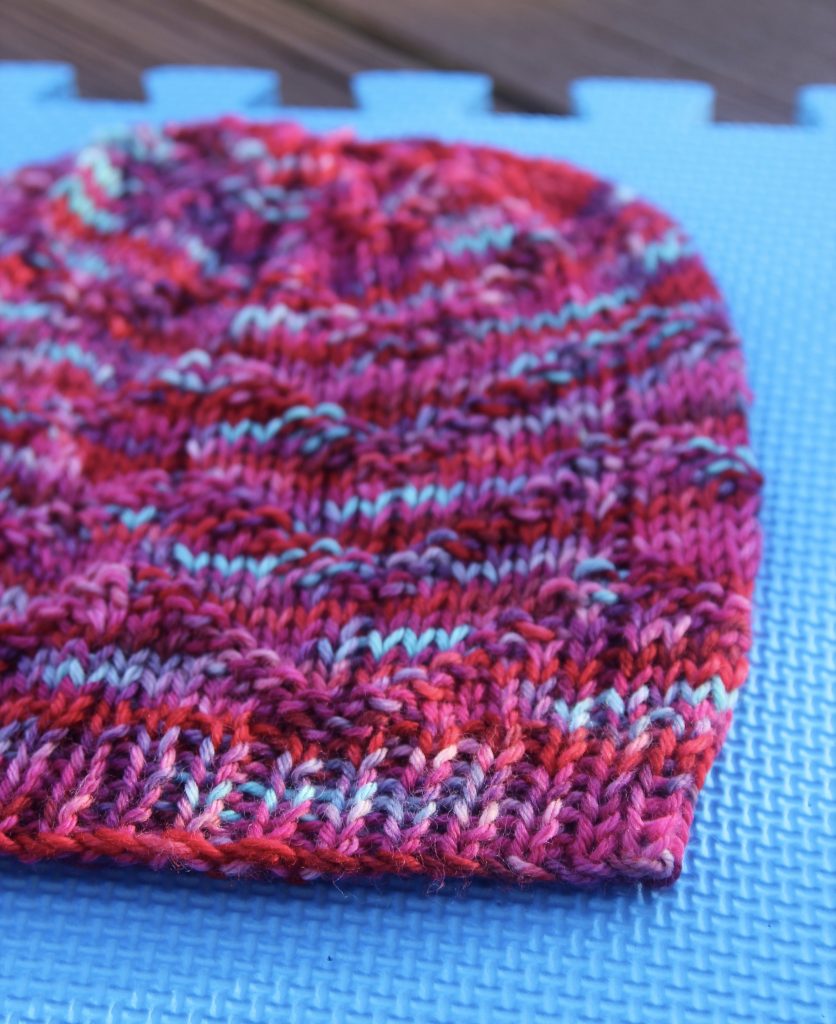
- Finally, lay your project out on a flat, dry surface and press it into shape. If you don’t have a good flat surface, blocking mats are a good idea. If your project involves lace, you may want to pin it out to open up the lace fully. Let the project fully dry and then move on to our gift wrapping tips below!
If your project needs a bit of water, but you’d rather skip the time it takes for a full wet block to dry, you can spray block it instead.
- Lay your project out on a flat surface, using blocking boards if necessary.
- Using a spray bottle filled with water, gently mist your project until it is damp. Then press it into shape, and secure with pins if you’d like. The project should dry fairly quickly (add a fan to the room if you want to speed the process up!) and be ready for gifting.
Steam Blocking
If you’re in a hurry, or don’t fancy a full wet block, you can do a quick steam block with your iron.
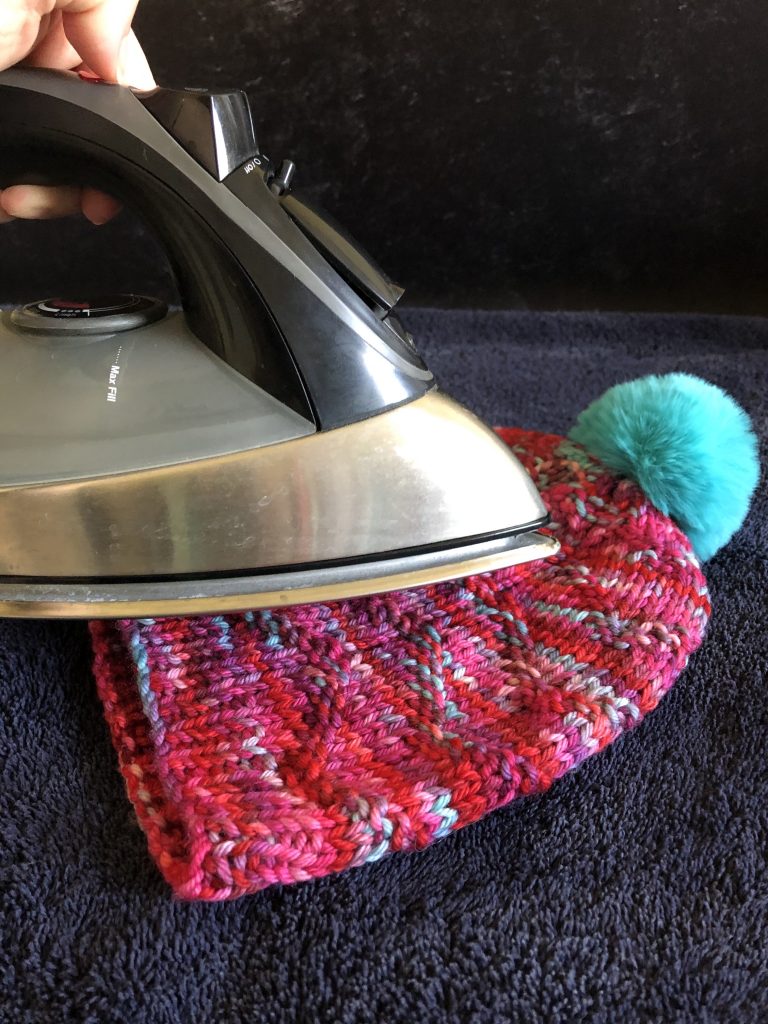
- Fill your iron with water, and let it heat up.
- Lay your project out on an ironing board or a flat surface. The key to steam blocking is that you will never let your iron touch your project; rather you’re going to let it hover directly above your project and release steam onto the project while holding it in the shape you’d like it to block into. Be careful to keep your fingers out of the line of the steam!
- Move the iron slowly over the project, adding steam and repeating the process until you’ve steamed the entire project. Your gift may be slightly damp after this, but it should dry fairly quickly and be ready for wrapping!
Now that we’ve covered all the ways to block your handmade items, let’s move on to wrapping!
Wrapping Your Gifts
Now that you’ve crafted a lovely handmade gift, it’s time to package it up and give it to the recipient. No matter how you wrap it, we suggest including a gift tag that lets the recipient know what materials are included in the project (wool, silk, cotton, etc.) and a few words about how to care for the gift. If your gift is hand-washable only, be sure to let your recipient know so they can care for their gift properly for years to come!
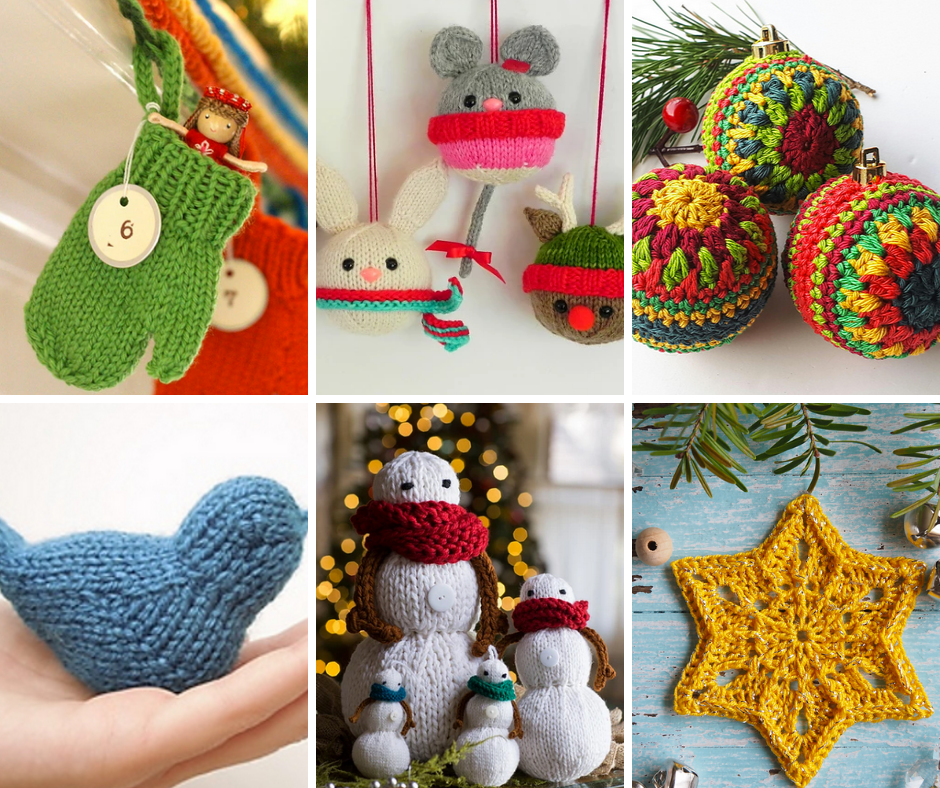
Whether you’re using gift bags or wrapping paper, consider adding more crafty touches to your gift wrapping. Use leftover project yarn instead of ribbons and make some fun pompoms in complementary colors instead of buying big bows! If you’ve got extra time, check out fun patterns for hand-knit or crocheted ornaments (mittens, animals, or baubles) or just add a little something non-denominational to your package (birds, snowmen, or snowflakes).
We hope this post has helped you finish those gorgeous gifts and deliver them in style. Happy holidays!